About Me

I'm a full-time working mom of 3 in the IT industry, with a great husband. When not spending time with the family, I like to spend my time in the kitchen. I like to cook. I love to eat. I adore entertaining people. I prefer not to go by any particular recipe, but experiment on my own. I'm not professionally trained in any way and I don't claim to be correct on anything I might post. Meals are often tossed together at the last minute. Sometimes I think about them during the day, sometimes I browse my cook book library and compare ingredients of great chefs before me. Sometimes I scour the internet, and sometimes they are literally pulled from the freezer and tossed into a pan.

I also used to dabble in cake decorating. {shameless plug: Cakes By Jenn Facebook}

These are those stories. I play with my food.
Showing posts with label Meat. Show all posts

Thursday, November 9, 2017

Having a Ball for Thanksgiving

I've not been cooking much lately to be honest. With three kids constantly on the run between dance, piano and girl scouts, by the time we get home the most I can muster is dialing for take out or telling the kids there is cereal in the cabinet.

And when I do cook, it's pasta, or one of my staples from this blog like "Whatsa Matta..Chicken Picatta" or it's redo "Picatta more better dish" and other quick meals I should be blogging about... But it happened last week. I cooked.

It appears that blogs such as this are a thing of the past and going by the wayside.  Being replaced by short 30 second videos on Facebook or Twitter, or some other popular social media site of the minute.  They're videos by Tasty or a quick article by Buzzfeed regarding the latest Top 10 something or another.  Or maybe it was a Pinterest pin.  And thing is, it's catching on.  People are saving them.  People are trying them.  It's getting people cooking.  It's also to get people to click their stuff, and earn money.  And so I've tried a few Tasty recipes.  They've been complete and utter failures.  I've had to tweak, or change, or cook them often much longer than they say to.  So, when tonight's recipe showed up in my Facebook feed as a Tasty video, I knew I wasn't going by the books.  But do I ever?  And man I'm so glad I changed this recipe.  It's so much better to play.  I present to you, Thanksgiving dinner... meatball style.

Ingredients 
  • 2lbs Ground Gurkey
  • 1 box Turkey Stuffing Mix
  • 1-2 Garlic Cloves
  • Salt & Pepper
  • Parsley
  • Basil
  • Thyme
  • Chives
  • 1 Egg
  • Splash of Milk
And per usual, you're going to ask, so how much of everything?  And that's really up to you.  How much garlic do YOU like?  Or in my house, how much garlic can I get away with?  Picture to the right shows you how much of everything I dumped in for spices.

So, place all the spices into your bowl, drop in the ground turkey, crack open and put in one egg, then a splash of milk.  If I had to estimate, I would say I put in about 1/4 cup of milk.  The first time I ran this recipe, the meatballs were a tad dry, so I will be considering altering it next time with either more milk, or the original amount of milk plus a splash of chicken stock.  Thing is, turkey is a very wet ground meat, so making meatballs is sticky.
Next up, you have to crush your stuffing down a bit.  I liked having large pieces and crumbs.  So open your bag of stuffing and dump into a plastic bag.  Grab your rolling pin and crush away.


You'll need to add about 1.5 cups of stuffing to your meatball mix.  Go by look and feel as you start mixing your meat.  I prefer to mix by hand, you're able to incorporate all ingredients faster.  If you think you need more stuffing then add more.


Once it's all mixed, start making your meatballs.  I was able to make 20 balls out of the 2 pounds this mixture.  The meatballs were slightly larger than a golf ball.  I wanted something you had to cut into, but also not so large it took forever to bake, and couldn't be considered a meatloaf.


Any leftover stuffing I had, I sprinkled it on top and around the meatballs in the bottom.  Adding additional texture to the plate, not wasting food, and besides the fact that extra stuffing is always a plus.  Into your pre-heated oven they go.  They should bake for about 30-45 minutes on 375 degrees.  I like to turn mine about half way through so that you can an even cook throughout.  If you have any doubt they're not done, you can and should, always take their temperature with a meat thermometer.  Pull them out and let them rest a bit.


While the meatballs are in the oven, it's best to start cooking your sides.  This isn't a blog about how to cooks sides today.  Come back some other time.  So, I made mashed potatoes, peas and gravy.  And honestly, whatever the best looking rolls on sale were that day.  No one has time to bake their own bread anymore, and if you do, I'm all kinds of jealous.  I made real mashed potatoes, not box as these deserved better and I actually had time that day, but I did cheat on the gravy.  What? I never said it was going to be perfect.

I served my kids separate gravy from potatoes from peas from meatballs.  Cause we all know their foods can't touch.  But this was truly plated with the meatballs placed on a mound of potatoes, smothered in gravy.  Peas and roll on the side.

Not the most beautiful plating in the world, I blame the phone and the rush to the table because we were all hungry.  I'd be afraid to send this to Gordon Ramsay's Twitter feed for fear of what he might call it.  But regardless of what it looked like, it tasted AHHHMazing.

Results

  • The almost 2 year old picked at it. What's she's two.. and had already snacked all afternoon.
  • The 6 year old gobbled it down well enough.  
  • The soon to be 10 year old gave me a 9.5/10 points.  When asked why the 1/2 deduction, I was told "just because" although I suspect it was because she doesn't like gravy.  Weirdo.  <3
  •  The husband made it disappear pretty damn fast.
  • Safe to say, this will be returning to our table.  Kids even had leftover meatballs for the lunches the following days.


Also, what kind of Thanksgiving meal would this had been had I not served cranberry sauce/jelly?  Served correctly, perfectly popped out of the can.


Enjoy!


Wednesday, September 16, 2015

Sweet Tooth Dinner

This past grocery shopping trip I picked up a pork tenderloin, not exactly knowing what I wanted to do with it, but figured it would be a nice long roast I could start before my daughter's dance class and come home to dinner already cooked.  Or maybe turn it into a crock pot meal.  Well, a beautiful pork butt was put in the crock pot on Monday and the lazy mother than I am, it wasn't clean by today (Wednesday) so the tenderloin needed an alternative.  A quick search online for a new recipe produced quite the variety of options.  Decisions, decisions, what to do, how to play?  School bus was coming and I had very little time to get to dance once it did... so off to the pantry I went to find what I could to toss in, cover and drop in.  Results were real good and the kids gobbled it up, with dipping sauce and all!

Ingredients
2lb pork tenderloin
salt
pepper
spicey brown mustard
honey
brown sugar

Remember, I don't measure, just toss it all in until it tastes right to you.  Heavily salt and pepper the pork.  In a bowl, combine the dijon mustard, honey and brown sugar.  Equal parts mustard and honey, then add brown sugar to make a thick paste.  Once combined well, smother pork well and coat all sides.  Place into baking dish and cover with tin foil.

Now, since I was leaving the house early, I decided to use the timer function on my awesome ovens.  I set the oven to start at 4:30 and cook for an hour at 350 degrees.  Placed the pork in the oven and headed off to grab the kid and get to dance.  After which... I stopped at a friend's house to pick up the other kid and we gabbed for an additional hour before I made it home.  Of course by then, the oven had long turned itself off.  Take note here, the pork was already in the oven as the oven warmed up to 350 and stayed in the oven until it was almost completely cooled down.  I am attributing the juiciness and tenderness that resulted to the cool down extra hour.  Checked the pork once I got home and it was at a PERFECT 165 internal temperature.  The mustard/honey/sugar paste had cooked down to an awesome juice, so I basted it a few times and let it sit while making sides.

Sides, I chose a boxed shells and white cheddar and then made candied carrots.  Yep, more brown sugar.  There's where the sweet tooth came in!  I had also mentioned carrots in conversation earlier in the day, so they were on my mind.  So what are candied carrots?  Carrots with brown sugar and butter, in a saute pan, cooked until tender.  That easy.  And I use frozen carrots, just easier.

Not a single picture did I take, sadly.  Never even crossed my mind until we sat down to dinner and the kids gobbled up the pork.

Monday, September 22, 2014

Kielbasa Risotto

My girls and I watched Ratatouille the other night.  If you have never seen it, stop what you're doing now, buy/rent it and go watch it.  And of course, since it's a movie that involves food, and cooking, it follows suit that I was in the mood to cook.  Add to that someone in my Facebook feed talking about recently having made risotto, and top it with being hungry for kielbasa, then we have a match made in heaven.  The following week, I just had to play.

Up until 1994 I had never had kielbasa a day in my life, let alone even knew what it was.  I grew up on German, and Pennsylvania Dutch cuisine.  This delightful sausage is Polish, and until I met my husband, didn't even know where Poland was on the map.  Not that he's strong in his heritage or anything, but with a last name with 10 letters, one must assume homeland food runs in the family somewhere right?  I mean, I grew up with sauerkraut (YICK).  Well, eventually I learned it's actually a pretty common food in this area, eaten by more than just Polish heritage.  And it's freaking AWESOME!  So of course, I cook with it as much as I can.  And this time around decided to put it into risotto.  I present to you, Kielbasa Risotto.

Ingredients
  • Kielbasa, one link, sliced down the middle then diced so you have half moons
  • Chives, 3 or 4 stalks.  I prefer to use chive over onion as it's not so strong a flavor
  • Olive Oil
  • Garlic Cloves, 3 or 4 small ones, smashed and minced
  • Aborio Rice, 1 cup
  • Chicken Stock, or boullion/water, 6 cups
  • Sweet Vermouth, splash
Directions
 
1.  In an 8 cup pot, drizzle olive oil in the bottom and place in chives and garlic.  Saute on med heat until the garlic is brown and chives are softened.  Add to that your kielbasa and cook until browned, continuously stirring so as not to burn the bottom too much.  It's OK if some of it turns brown.  That's called "fond" and it's flavor.  Besides it goes away in this next step.

 2.)  Take meat out, retaining juices and oil in the pan.  Set aside in bowl for later.  Pour the rice into the pot.  Stir briefly then, then splash with the sweet vermouth.  If you HAVE to measure, it was probably 1/4 cup.  Keep stirring until the vermouth is absorbed into the rice.

 3.)  Pour 1 cup of chicken broth in and bring to simmer on low.  You don't ever want this to boil, just a soft simmer.  Continue to stir.  We don't want the water the boil away, we want the rice to absorb it.  Continue to add water at 1/2 to 3/4 cup at a time.  Wait until you have nothing but rice left before adding the next addition of water.  This WILL TAKE FOREVER.  Or approximately 30 minutes, of you standing there stirring rice and adding stock.  But it's SO worth it.  When you have just 1-1/2 c of stock left, dump the kielbasa back into the pot with 1/2 cup of water and continue to stir and let it absorb.

 4.)  With 1/2c of stock left, optional... dump in some frozen peas.  I'm a mom, gotta have that vegetable.  Oh hey, speaking of mom, this is also a ONE POT MEAL!  Score.  Let the last of the stock absorb into the rice and you'll notice that it has taken on a creamy consistency without actually having any cream in it.  Ta-da, you just made risotto.


AND... the kids and husband gobbled it up!


Serve and Enjoy!

Side Note:  This reheats well in the microwave.  Just be sure to re-heat after adding a splash of water for it to steam by.

Wednesday, September 3, 2014

One Pot Trickery

I'm on fire tonight!  2 posts.  Wow.  Gotta make up for the last 8 months, so hopefully I can keep up some "steam" and get things "cooking" around here again.    This is by NO means a typical "Jenn Plays" meal, but this is a triumph for me.

I LOVE spaghetti and meatballs.  It's a meal I could devour until it came out my ears.  It just doesn't get any better than homemade sauce, savory meatballs, and al dente pasta smothered in fresh Parmesan cheese.  Growing up in my house, Sunday night was spaghetti night.  Mom would make a giant bowl and we'd dip in.  All you can eat.  Spoons and forks clanking, napkins folded into shirts, the sound of thin spaghetti noodles being slurped up, and honestly, the familiar chatter it brought about between kids and adult. 

--Excerpt from Today:
I've recently learned it was a maternal family thing.  My cousins and I recently reminisced about it, apparently, the tradition held true in their households as well.  That's cool.
--And now back to our story.

Fast forward to marrying my husband and Sunday Spaghetti came to a screeching halt.  He doesn't like "red sauce" dishes.  Almost grounds for divorce right there.  STOP THE TRUCK, BACK UP.  There has to be a way around this.  No way.  I can't go without it.  But I did.  Spaghetti Sunday was lost, an ancient ruin in the memory of comfort foods. I learned to eat it when I could find it.  Make it in small batches when he wasn't home.  Buy... gulp... canned sauce just to get my fix.  Then one day, I learn he like lasagna, and then it's baked ziti.  Oh the joys!  I can have something similar to spaghetti, at least.  It's a glimmer.  Small hope that maybe someday Spaghetti Sundays could be back in my life again.  But alas, these escapades with sauce are still few and far between.

Along comes baby #1.  Maybe I will have a partner in red sauce love.  Maybe I can raise this one as my own.  Perhaps she too, will share my love of this blessed meal.  Alas, no.  She's too smart for me.  She overhears the husband one night complain that I've made one to many baked zitis lately and he doesn't like red sauce. And I hear from the kitchen table... "Mommy, I don't like red sauce!" Nooooooooo... what have you done!? I didn't hear that! It's can't be true, it shan't be true!!!  But it is.  So begins my life with child #1 not liking "red sauce" and even pizza is ordered sans sauce.

Along comes baby #2.  Could it be this time?  I'm not getting my hopes up.  I can't come crashing down like that again.  No, I won't let it.  I introduce it slowly.  Making spaghetti one night as butter/garlic only, I toss a batch of red sauce to the side for me and offer it with no other option to child #2.  And?  No hesitation!  We have a winner!!!  Angels sing, the people rejoice.  I have a friend in red at last!

Being the stubborn mother than I am, do you have ANY idea how frustrating it is to have a 6 year old that doesn't eat pizza with sauce?  Go to a child's birthday party, what's served, pizza.  Sorry kid, too bad.  So my never ending attempt goes on.  "Try it" "Try it"  "Try it"  Which brings me to tonight's post. I'm forever looking for ways to ease child #1 into red sauce.  I KNOW she likes it.  She's just being stubborn.  WHO DOESN'T LIKE RED SAUCE!?  (Oh right, my husband, but I digress.)

So tonight.  Tonight's dish is semi-homemade and done in ONE pot.  That's the best part and reason I'm really blogging.  One pot dishes are the best, easier to clean up, quick meals.  Watch me play.

Ingredients
1 box pasta, pick your favorite shape
1 lb ground beef
Broccoli
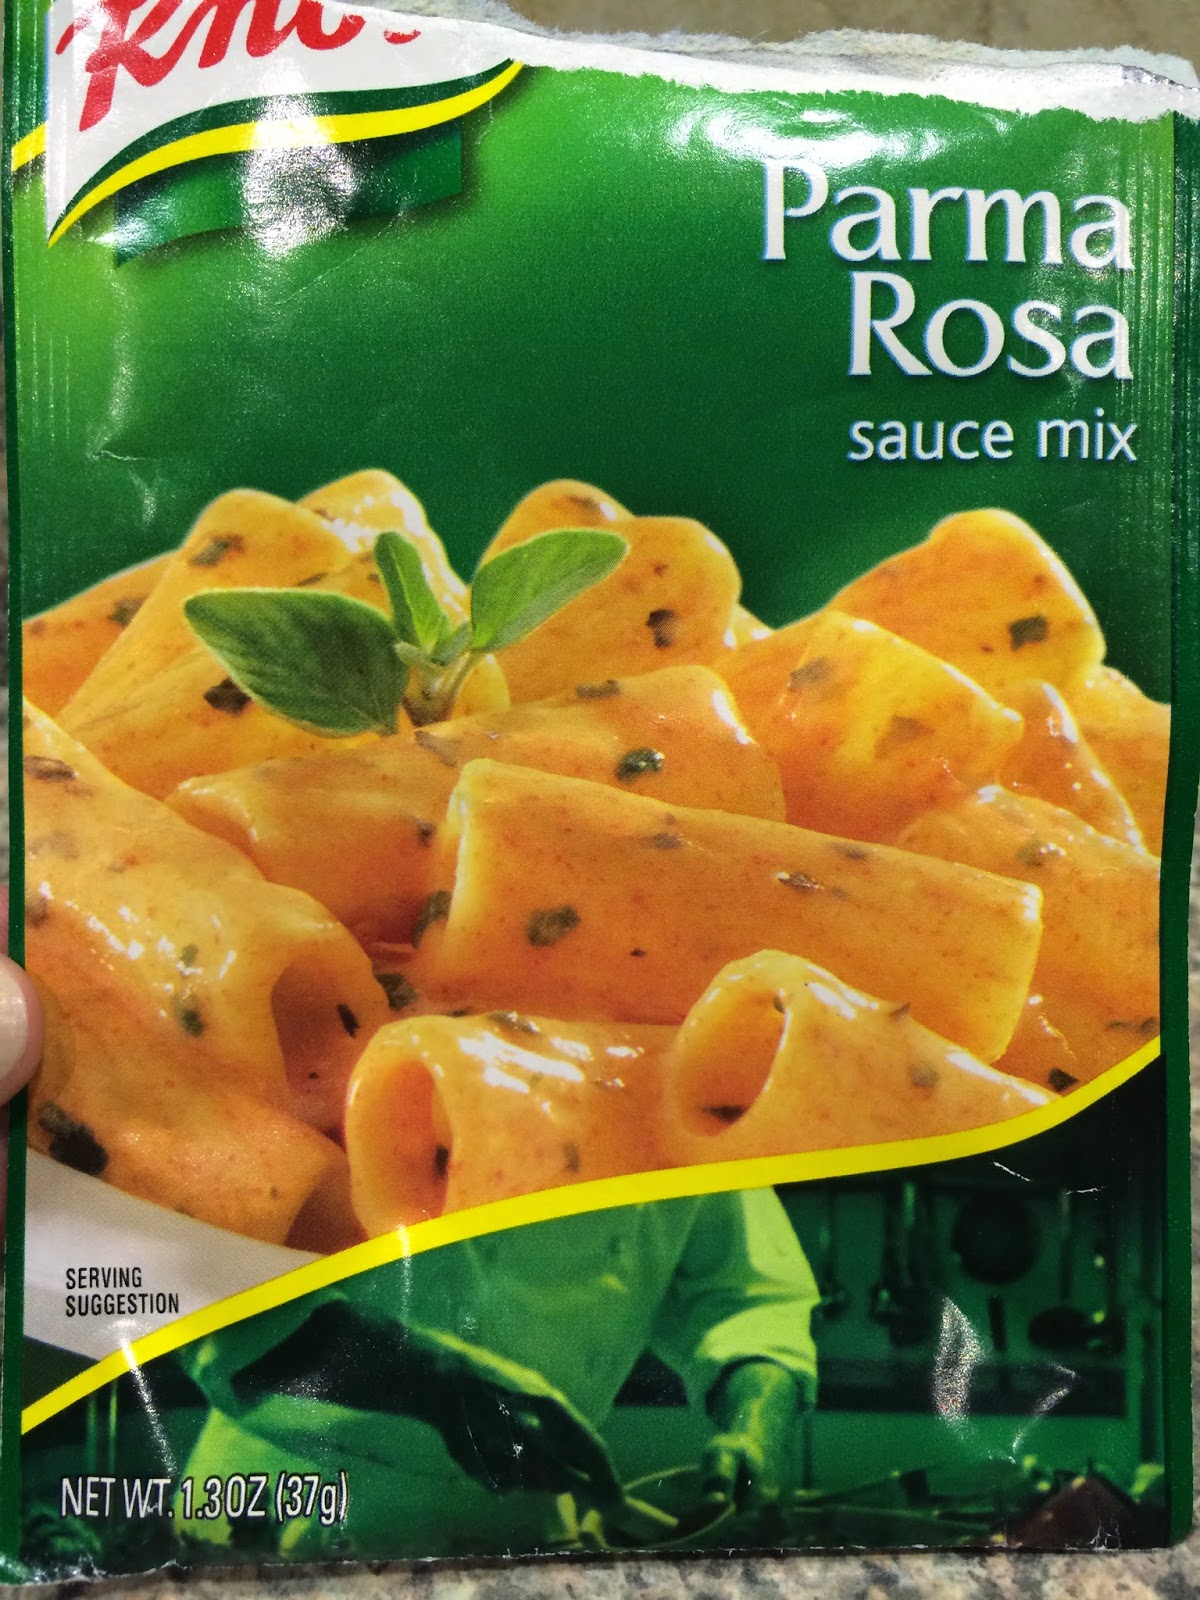
1 pkt Knorr's Parma Rosa sauce mix
1 T butter/margarine
1.25c milk
Water

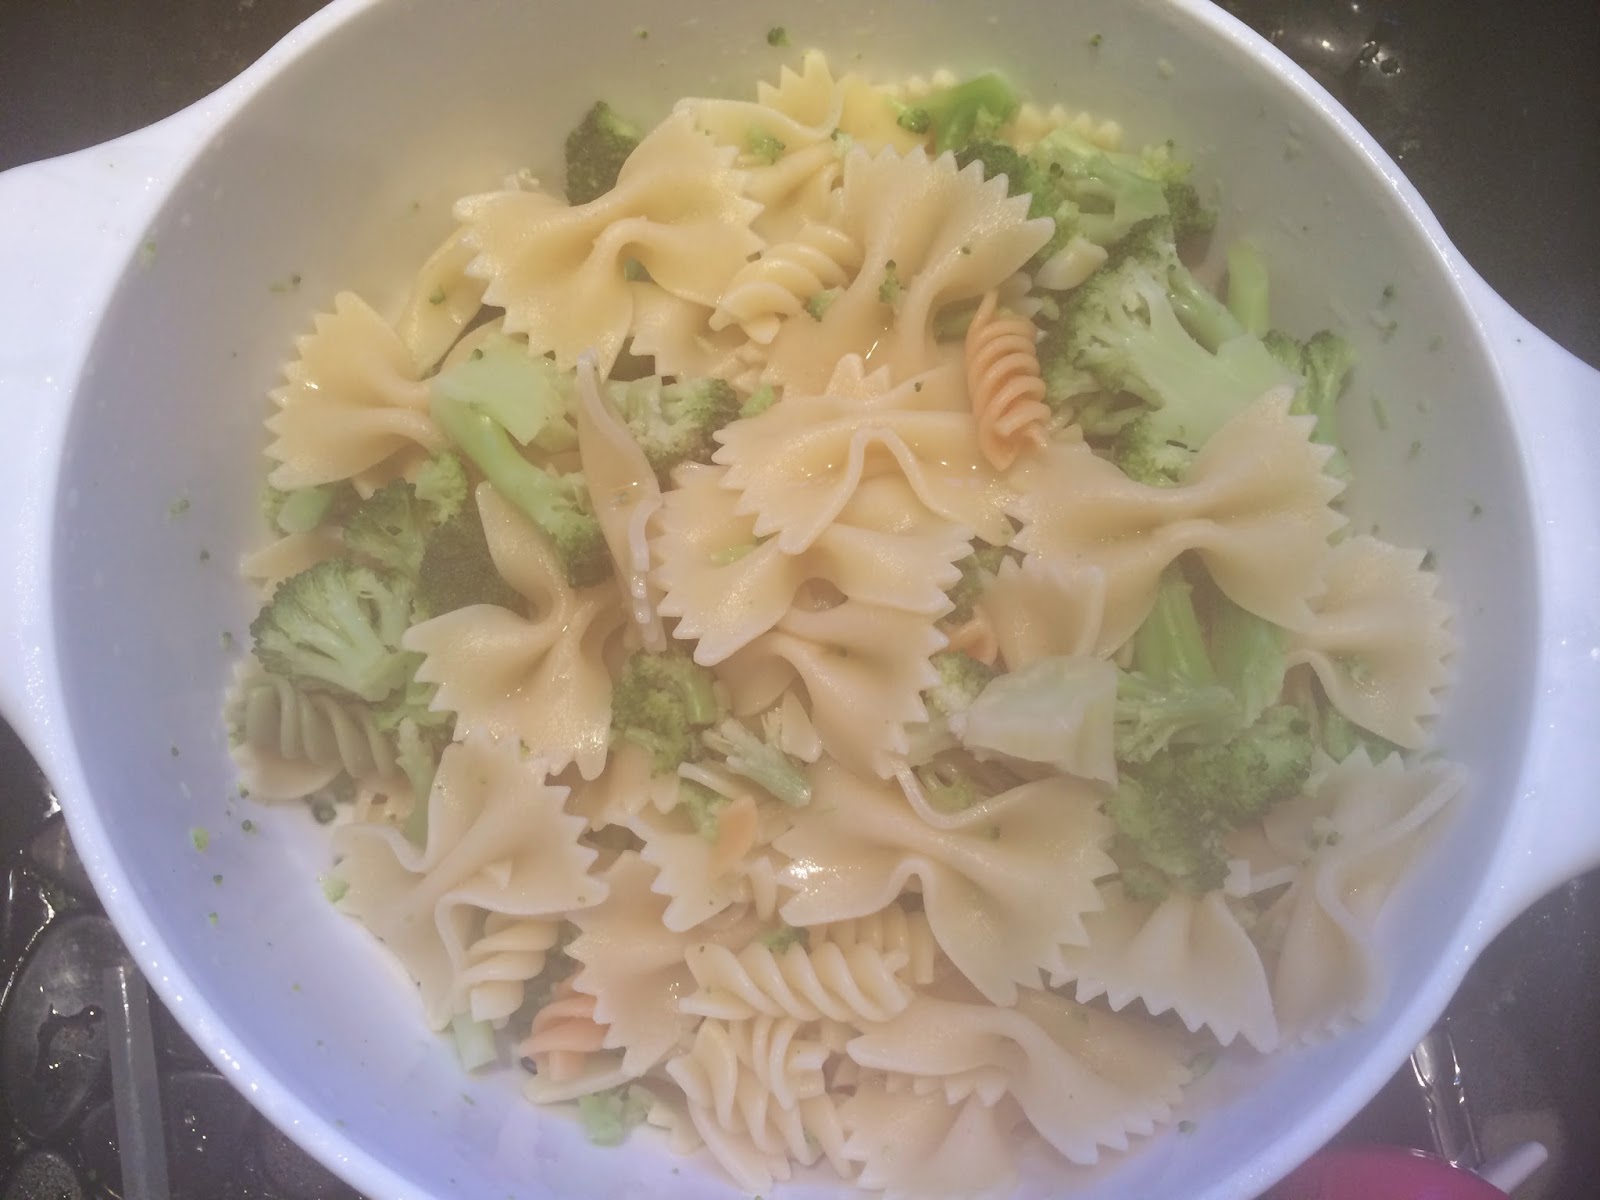
Boil pasta to almost desired tenderness, add broccoli finish boiling, drain, let sit
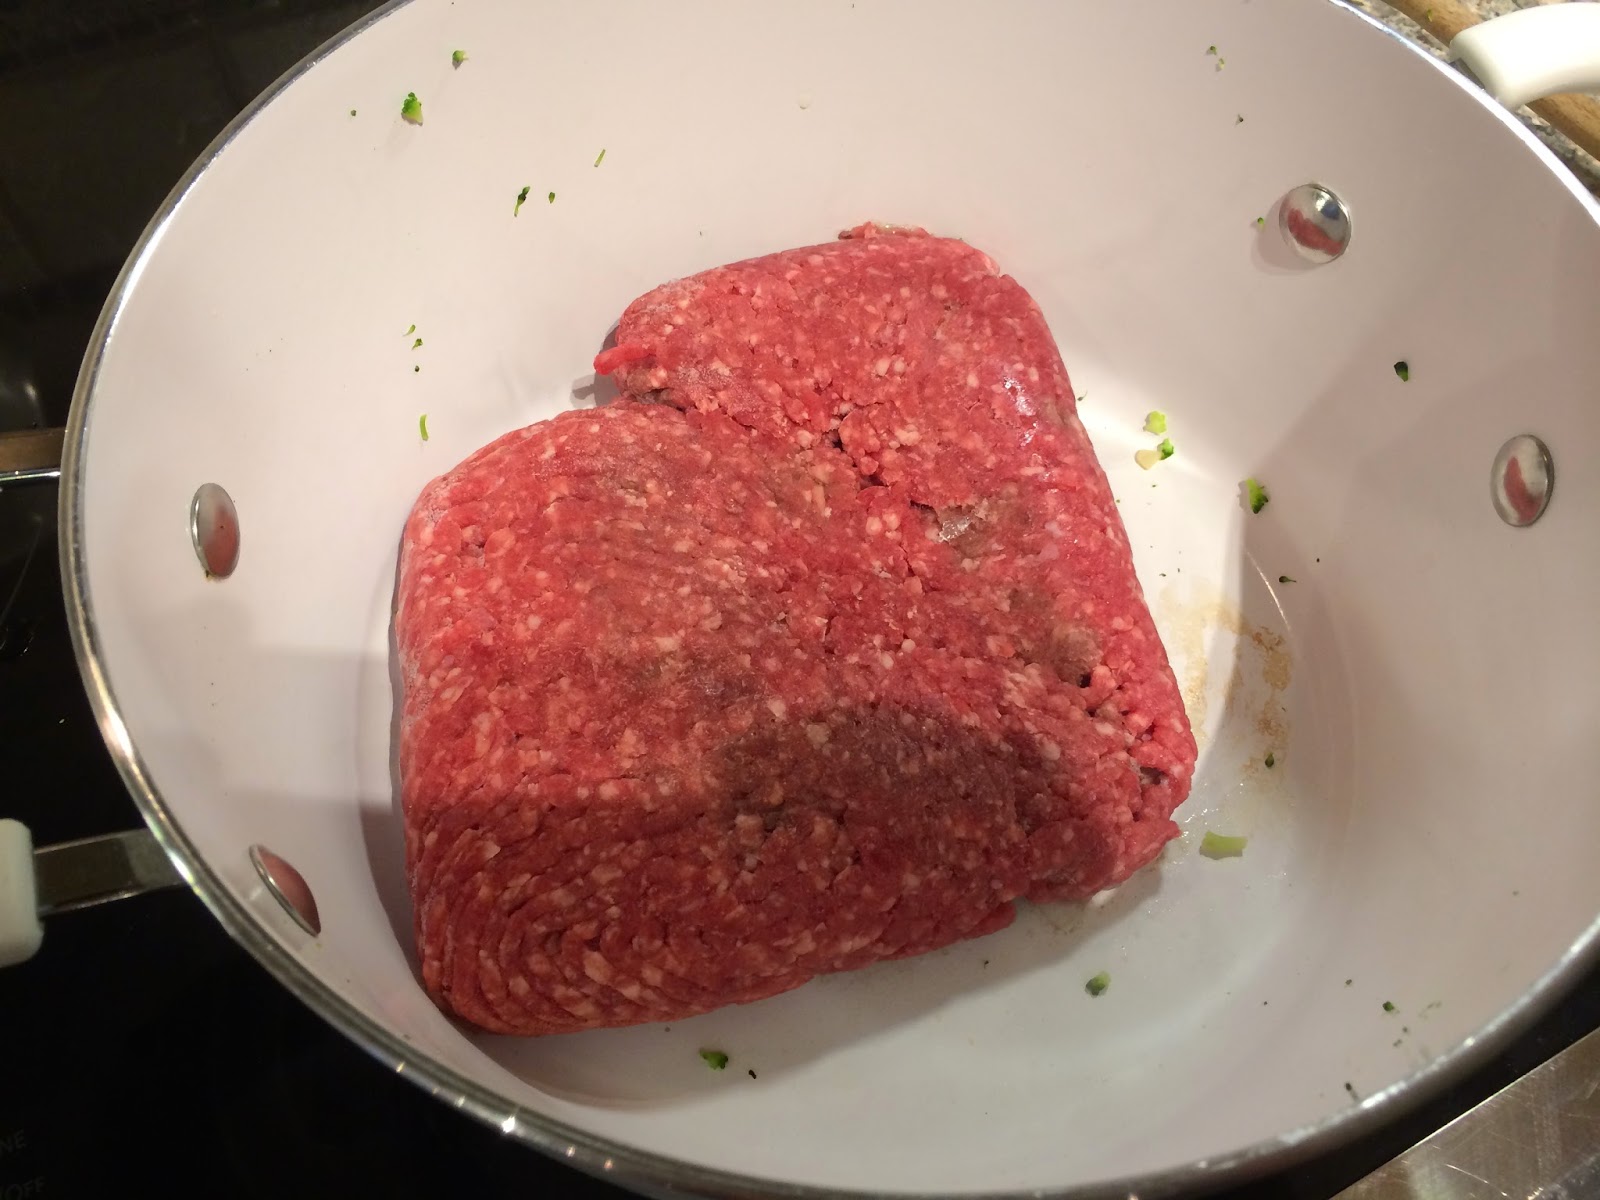
Return pot to stove and brown beef
Add Milk, Butter, and contents of Knorr packet.
Follow directions to boil for 4 minutes
 Dump pasta/broccoli into pot and stir.


So Jenn.  What does this have to do with red sauce and child #1?
Well... Parma Rosa... hello, red sauce!  She ate it.
Gobbled it right up, like it was going out of style and even had seconds!!
Tasted like tomato sauce but lighter in color
Genius.
Score one for mom.

Maybe Spaghetti Sundays aren't too far off in my future to return....


Wednesday, April 17, 2013

Ribs Revisited

This past weekend, was a 3 day weekend.  And lucky me, my youngest daughter woke up sick on Saturday morning.  We spent the day at my in-laws where she filled several diapers and I got thrown up on, as did my car on the ride home that night.  Sunday was a good day, Monday was not (for many reasons but personal and public).  While at the grocery store on Saturday, while I got a small chance to escape, I saw ribs on sale.  I get pork ribs perhaps once, maybe twice a year.  They're not always affordable , and they're time consuming to make.  But so worth it.  But I did not purchase said ribs on Saturday. No, I let them go, and went about the sick weekend yearning for that ooey goodness of BBQ sauce slathered on mouth watering pork.  Fast forward to Tuesday where I ended up at home from work since daughter was still sick and I was determined to finally purchase this delectable delight.  Hopefully, still on sale.  And they were.

Due to the aforementioned terrible sick weekend, and the tragedy at the Boston Marathon, it was important that I restore some mental normalcy, if not in the household, than at least my own brain.  And this meant putting on a spread.  Which, in my mind from the weekend, was ribs, asparagus and to appease my 5 year old, french fries.  I'm a semi-homemade mom, so the french fries this time did come out of a bag, but the ribs, oh no, I played.

I like to give my ribs a dry rub massage with their 300 for 3 bake.
And, as you know, I don't measure.  Simply shake/pour on in your desired amount.


Here are the ingredients for today's version of ribs.
  • Salt/Pepper
  • Garlic Salt
  • Onion Powder
  • Cumin
  • Coriander
  • Chili Powder

Sprinkle it all on at your desired taste and just rub it right in.  Get dirty, and love the meat.


 Place the ribs into a roasting pan.  I like to put a rack on the bottom, we are steaming them in the roast pan more than we are boiling them.

This gives the juice the ability to drain to the bottom and the ribs keep their spices attached.

Cover the roasting pan and place into the oven at 300 degrees for 3 hours.


Once your 3 hour timer goes off.  Take them out of the oven, keep the lid on and just let them sit inside the roasting pan on your counter.  Meanwhile, get your grill nice and hot, as hot as you can.  I kept mine about 400 degrees for this yesterday.

Slather your ribs with your favorite BBQ sauce and place them meat side down on the grill.  Cover the lid, turn your burners down to low, we are now aiming for a nice 300 degree grill.
Leave them be for about 10 minutes.
Open the lid, turn them over.  Let 'em sit for 10 more.  Apply more BBQ sauce as necessary and as wet as you like them. Repeat process until they are at the desired texture for you.  I left them on here for a total of 30 minutes, long enough to start cooking my sides and get the table set.


 When they're done, slice them up for your desired serving size, 1 to 2 ribs per slice.
As I said, I served these up with Asparagus and french fries.  They were oh so yummy.  Wet paper towel required.

Tuesday, March 19, 2013

A Meatloaf Makeover

Today was a snow day.  Both my work and my husband's work were open, but with 2 hour delays.  Leaving the children unattended since day care and preschool were closed was not an option.  The coin was tossed and it was unanimously decided by the husband that I was to stay home.  There really was no coin.  Apparently he lives by Sheldon's rule of voting. (The Roommate Agreement, Controversial Clauses)  Anywho, I settled in for the day.  Got a solid 3 hours of work in before having to fly solo for the day, so one could say that I was "successfully working from home."  Hey, I got to drink a hot cup of coffee.  That's rare, even at work.

Sunday, the decision had been made to make meatloaf this week.  I had defrosted the meatloaf trio (pork, veal, beef) and it was just sitting cold, waiting to go.  Sunday ended up as New England Boiled dinner with family.  Monday, well Monday went the way of Kraft for the kids and Chinese for us.  Which meant, meatloaf HAD to be tonight.

Now, if you've ever had to work from home with a 5 year old and a 2 year old, you know that the day never goes as planned.  While you may not actually get dressed, you still get absolutely nothing done, due to the cost of dedication to connect and check e-mail.  My oldest is thankfully now at an age where I can somewhat trust that's she OK in her room doing her thing.  Of course, recent history has proven this statement wrong as we have found marker on floors, doors, walls and clothes, but hey, she's learned her lesson by now...... right?  God I hope.  The 2 year old however, it another ball game altogether.  Can't take my eyes off her for a minute!  So knowing the day was not going to be easy, I knew I wasn't going to want to deal with dinner at 5, let alone anything later like 6 or even 7.  And I couldn't go another night with not cooking.  We've had take out, or hot dogs, nuggets and whatnot far too much recently.  So meatloaf had to be cooked, today.

Light bulb!  Crock pot.  That wonderful invention of 8 hour slow cooking.  Toss everything in, set it, forget it, and love it later.  I personally grew up on crock pot food.  My mom made the BEST pot roast in the world.  No man (or woman for that matter) could out do her roast.  And even though I have the recipe, it still doesn't hold a flame to hers.  So, a quick google search produced that you can, indeed, actually cook a meatloaf in the crock pot.  How interesting.  It shall be done.

So.  Mixed up my meat.  Formed said loaf.  Dropped it into the bottom of the pot.  Turned it on.  Walked away. .  .  .  Wait.  What about sides?  I don't want to have to worry about that later.  Ugh.  Now what?  Well, it's a crock pot, throw stuff in!  Turned off the crock, pulled out the loaf.  Rummaged through my cabinets and fridge.  Produced a couple of carrots, a few yellow potatoes and a turnip (aka. rutabaga depending on what side of the Mississippi you live on)  Peeled, chopped big and put them in the bottom (after spraying with cooking spray).  Hrm.. now the loaf.  Going back into my cabinets, I produced the inside of a 2 piece meatloaf pan.  You know, the ones where the juices are supposed to run through but just down into the other pan?  Balanced that baby on top of the veggies inside the pan and still had room to put the lid on.  Voila.  Yeah, this'll work!  Turned the crock pot back on, set for 8 hours.

5:30 all was done.  House smelled good.  Meatloaf temp was right!  Veggies were done.
The verdict?  The 5 year old devoured it, no ketchup.  The 2 year old, yeah well she's 2, so between the ups and downs in her seat she eventually ate all of it.  Husband.. ate it!  Didn't love it, but certainly did not get the reaction I did with the apple-sauce pork.

As the creator... I have to say it wasn't terrible.  The veggies were great!  I had modified my recipe for the meatloaf (again) and left out a few things like the chopped mozzarella, so the loaf dried out a bit.  Changes for the next time I do this, and there WILL be a next time, would be to make sure i have the mozzarella in there, and I think I will be putting the loaf right into the pot, no extra pan so it can stew in it's own juices, and pile the veggies around them. 

Good experiment.  Fun to play and was for sure a time saver.

Thursday, December 27, 2012

Jenn's Beef Brisket a la N.E Boiled Dinner

New England Boiled Dinner.  Take an extra salty, briny piece of meat, toss it in a pot of water, boil the life out of it, toss in potatoes, root veggies and cabbage.  Serve.  With mustard and/or vinegar.  A meal that was foreign to me until I met my husband's family some odd years ago now.  The first time this was served to me, I naturally proceeded with caution.  It all looked like the same gray matter sitting on a plate in front of me.  But those around me couldn't shovel it into their mouths quickly enough, so I proceeded.  And yeah, well, the rest is history.  It wasn't long until I was making my own boiled dinner at home.  But this isn't an entry about New England Boiled dinner.... well, not quite.

Last year, I was in the mood for boiled dinner, but it was the wrong time of year to find corned beef brisket at the store.  At least, MB and S&S weren't carrying it and I wasn't going to S's.  So, I asked the butcher if he had brisket.  Stupid question Jenn.  I wasn't paying attention to what I was asking.  I had simply said "brisket" and not "corned beef brisket."  The butcher replied kindly and disappeared into the back room, returning with this enormous 5lb hunk of beef, which I HAD to take home, he had special cut it for me.  Thankfully, beef at the time wasn't outrageously priced so I didn't go bankrupt at checkout.  Went home with my potato, cabbage, parsnips, carrots and set to work boiling the water.  Only to realize that "the package" of spices was missing.  It was then that it finally dawned on me... this was not corned beef brisket... this was just simply beef brisket.  What the HECK do I do with this!?

A quick search on the internet produced several brines and methods to make your own pickling spice to produced the "corned" part of beef brisket... but that took 2-3 days to complete properly.  I wanted boiled dinner now, not three days from now.  Further searches produced results about others who had run into a similar scenario, no not where someone mistakenly got just beef and forgot the corned... but where the spice packet had been left out of their package of corned beef.  Reading several question and answer sites I finally came up with the spices I wanted to use.  Tossed them all into the pot, boiled this plain old beef brisket up for about 3 hours, tossed in the veggies and served.  It was "OK."  It was certainly edible.  Both Rob and Kass at it, and since the butcher had given me enough to feed a family of 8, I had plenty of leftovers and lived off this for more than a week for lunch.

Fast forward to last night.  I've improved my recipe and it was AMAZING.  So, why not share it with you? 

First thing we need to do here though is finally establish my measuring techniques, because you will surely need it this time.  I palm measure.  Here's what I mean.

Hold your hand out in front of you.  Cup it.
You'll notice that you've now created a small divot in the palm of your hand.  The lowest point, the orange circle in the picture is #1, typically about a teaspoon.  The next higher point, pour to the red line, and that can be a teaspoon to one tablespoon, depending on how cupped your hand is.  The next higher point over that is the green circle, easily 2 tablespoons, but again, depends on how cupped your hand is.  Imagine an orange just sitting in there nicely with your hand cupped around it.  That's about right.

Now that you know the approximate measurements, here are the ingredients to Jenn's Beef Brisket.
  • 1 Beef Brisket, not too fatty, but not without fat
  • Bay Leaves
  • Coriander
  • Whole cloves
  • Whole all spice
  • Mustard Powder
  • 3 cloves garlic
  • Onion powder
  • Salt
  • Whole Pepper
  • Water
  • Root Vegetables (Russet Potatoes, Carrots, Turnip, Parsnip - all or some, depends on how many people you're feeding)
  • Head of Cabbage
Grab a pot big enough to hold the brisket and all your vegetables.  This is a one pot dish, everything is eventually going in, so make sure you have plenty of room!  Put the brisket in the bottom and fill with water to 2 inches from the top of the pot.  Get the pot on the stove and set to High to get it boiling. 

Add your spices. 
In the "Green Measurement" add the following: 
  • Coriander
  • Whole cloves
  • Mustard Powder
  • Salt
  • Whole Pepper
In the "Red Measurement" add the following:
  • Whole All spice
  • Onion powder
Drop in 2 Bay leaves
Drop in 3 cloves of garlic, peeled and chopped in half

  1. Bring everything to a boil, turn back heat to Medium and let simmer/boil for 1.5 hours.
    • Now... this is for a beef brisket that shreds but does not fall apart on its own.  If you want the brisket to fall apart on it's own, boil for 2.5 hours.  Otherwise, this makes a nice beef that's tender but may still want a knife to cut the shreds.  It WILL still shred, just not fall apart on its own.  Adjust to your taste.
  2. Meanwhile, cut your root vegetables into big chunks.  Carrots should just be cut in half, potatoes quartered, parsnip sliced and quartered.
  3. After 1.5 hours, you'll want to start progressively adding the vegetables for the last 30 minutes, the denser veggies first.  
    • Add another "Red Measurement" of salt at this point
    • Carrots, Parsnips, Turnips, Potatoes, Cabbage last.  Let the one veggie boil up for 5-10 minutes before adding the next.

Your house is going to smell AMAZING while this is happening.  :-)

After the 2 hours have completed, your meal is done.  Grab some serving trays to display it all in, or just serve right from the pot.  Minus the beef of course, you'll need to shred/cut that.

You will also be left with a super flavorful beef broth.  Make soup, or freeze for later.

Enjoy!!

Wednesday, June 6, 2012

Wednesday, December 28, 2011

Not Your Mama's Meatloaf!

Ok, let's be honest here, no kid likes meatloaf.  Growing up, I can remember slathering my slice of mushed meat with ketchup and showering it with salt in order to choke it down.  When mom made meatloaf there was always a standoff and an extra glass of milk to help make it go down.  But I think it's a requirement that mom's make meatloaf, and that they force their children to eat it.  I also grew up in a household where you ate what was on your plate.  None of this "I'll make a second meal crap" 'cause my kid is picky.  Honestly,  yes, there are a few meals that aren't worth the battle and I toss nuggets or fish sticks in the microwave instead.  I know my daughter will never eat "red sauce" on her spaghetti, but that doesn't require a second dinner, just omit the sauce and add butter to hers.  But for some reason, I allow certain battles at dinner to commence.  She must try everything, even if it requires tears and sitting there for 30 minutes.  She will learn eventually that she is of my genes and hence I am just as, if not more, stubborn as she is.

Funny enough, my daughter won last night's meatloaf battle by falling asleep at the table.  Four straight days without a nap, and late nights will do that to a four year old.  There she was refusing to eat the meatloaf one second, and the next her eyes were closed and she was snoring.  Kassidy 1, Meatloaf 0.  There will be a rematch.  And it was to her loss, since last night's loaf was surely a winner!!

I base my meatloaf recipe, of course, off my mom's.  I don't veer TOO far off the original, but I add a few extra ingredients to make it my own.  And for mystery sake, I'm not telling you what's original and what's not.  Personally, I like a meatloaf full of flavor, much like a meatball, only... in a loaf.  And I'm a strong believer that my meatloaf should not crunch when I bite into it, so no celery or fresh onion for me.  I also never make the same meatloaf twice.  I'm always changing something.  But last night, winna winna meatloaf dinna!  Let's play.


Ingredients
Put all this in one big bowl.
  • 1 pound ground beef (or turkey)
  • 1/2 pound ground pork (a must, no substitute)
  • 1/2 pound ground veal (a must, no substitute)
  • Salt/Pepper
  • 1T ground Savory, although I typically just dump a quarter size into my palm and toss
  • 1/4 cup ketchup, estimated, I just squirt what looks good
  • 2T Worcestershire sauce, estimated, I just put in 5 or 6 good shakes
  • 1/4 cup milk, estimated, I just pour for 2 seconds
  • 1 egg, exact
  • 2-3 shakes garlic salt
  • 2-3 shakes onion powder
  • 1/2 cup bread crumbs (Italian, add flavor every where you can), honestly, this is an estimate, I just cup my hand and fill my hand, could be almost a full cup
  • 1/2 cup Parmesan cheese, again, I'm estimating, beucase I really just sprinkle a good layer over the top of the bowl I'm mixing things in
Run the water in your sink and get it nice and hot, run your hands under it and warm them up.  Remove any rings you're wearing.  The only way to properly mix is to get in there and do it by hand.  Why the hot water?  There's something about cold ground meat that just chills you right to the bone.  You're going to want to do this at least twice while you're mixing to reheat your hands.  Start rolling it around and squishing and get all the ingredients incorporated nicely.  I mix mine a little longer than my mom would, as I prefer a solid structure loaf, while she likes one to kind of fall apart.  The longer you "play" with raw meat like playdough, the consistently will change once cooked. Play with it less, you get more of a chunky loaf, play with it more, you get a solid structure.   Get it mixed up well and form a large meatball.

Select your pan.  I like to use my broiler pan.  Big enough to hold the loaf, but the slits also allow the juices to run down.  Plus, you don't feel like you're pushing to squish it into one of those traditional meatloaf pans.  This allows your loaf to "breathe."  So, prep the pan with a spray of cooking spray so it doesn't stick later and drop your big meatball down on top of it, form it into a loaf.

You didn't put the ketchup and Parmesan cheese away yet, did you?  If you did, get it back out.  Sprinkle the top with cheese, just a light dusting.  Then squirt on your ketchup.  Not too much, it's really for decoration and just a smidge of flavor.  (Hm... did you make breakfast this morning and not use the whole pound of bacon?  Here's a variation I've done once... before the Parmesan, lay the bacon across)

Your oven should be preheated to 350 degrees.  Place your pan on the center rack and let it go for 1 hour, 15 minutes.  Don't open the door.  When it's done, take it out, let it rest.  Very important to let it rest!!!  Just like a fine steak, all those juices are running wild inside and you don't want to lose them but cutting it open and letting it bleed.  By letting the meatloaf rest, the juices redistribute and calm down.  Give it 10 minutes, at least.

Good time to whip up your side dishes, or at least finish them up.  I always grew up with peas and mashed potatoes with meatloaf, so that's usually what I make.  And I got lazy last night, for some reason was really feeling the need for instant mashed potatoes.  Betty Crocker makes a good "butter" flavor.  And after letting it sit according to directions, add another tablespoon of butter, a dash of salt and a splash of milk, voila, no one knows the difference.  Hey, it's Christmas weekend, I had a lot going on, I deserve a cheat.

So, as we sit down to eat and commence the meat battle with Kassidy, she falls asleep.  I of course have my cell phone at hand and snap a picture.  The meatloaf battle in our house as a kid is a truth that both my sister and I share, so I sent her the picture and comment about the meatloaf battle.  She texts me back..... "wait, you made meatloaf with peas and potatoes????" - yes, there were four question marks.  Upon inquiry, I find out that she too, had made meatloaf, with.. peas and potatoes.  Now, ok really strange since we both detested it so much as children but now find that we actually kinda crave meatloaf once in a while.  And with this recipe who wouldn't?   At the same time, I had messaged my parents, the same said picture.  Yeah, turns out... they were having meatloaf too!  Really, it's funnier if you're one of our family, but it was worth mentioning.

So there's your meatloaf.  Makes a great meatloaf sandwich the next day too!  Enjoy!